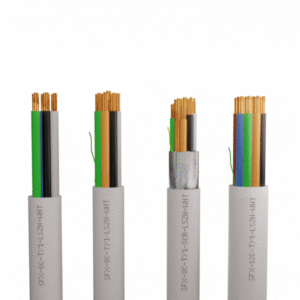
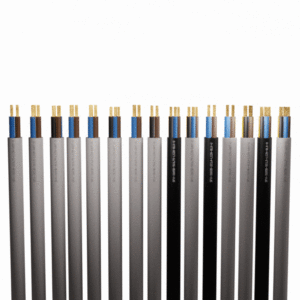
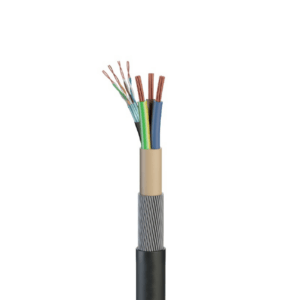
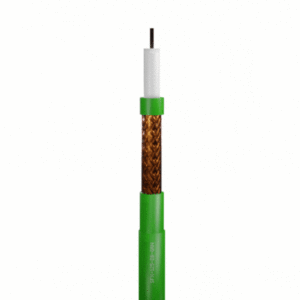

Fibre optic cable can be damaged, cut, or fractured by mistake. A major cause of optical fibre failure is backhoe fade, accidental damage which can cut or completely sever a data cable during digging.
How to Repair a Broken Fibre Optic Cable
An Optical Time Domain Reflectometer (OTDR) is required – it is used for measuring fibre length, transmission and joint attenuation, and fault localisation.
Below is a step-by-step guide on how to repair a broken cable:
- Step 1: Use OTDR to locate the break – the reflectometer, mentioned above, works as a radar which sends a light pulse to the optical fibre cable
- Step 2: Cut the damaged cable using fibre optic cutters – dig up the fibre optic cable that is damaged after determining its location and then proceed to cut it out
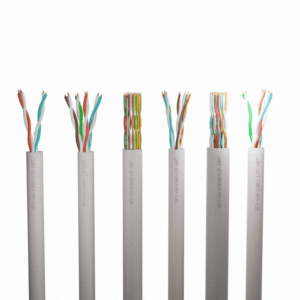
- Step 3: Strip the cable using fibre optic stripper – strip it on both ends and peel carefully to expose the tube inside, cut any sheath and/or yarn
- Step 4: Trim the damage on the cable using high precision fibre cleaver
- Step 5: Clean the striped cable – it is important to make sure that you have a clean wire strip; use alcohol and lint-free wipes, once cleaned the fibre should not touch anything
- Step 6: Join the fibre optic cable back together – that can be done using two different methods, mechanical splicing or fusion splicing.
- Step 7: Carry out a connection test with OTDR
After this, you’re done!
Explore our range of data cables here, check out this guide to the types of data cable, or find a wholesaler near you today.